













Mini-Book Charms: How To
Miniature book charms are a fun addition to bookmarks or to your holiday decorations collection.
Read the full tutorial
Supplies
- Color print out of your favorite book cover
- Scissors
- Thin cardboard (like a cereal box)
- Aleene’s craft glue
- Sculpey white modeling clay
- Rolling pin
- Sharp knife
- Mod Podge
Make and glue up your covers
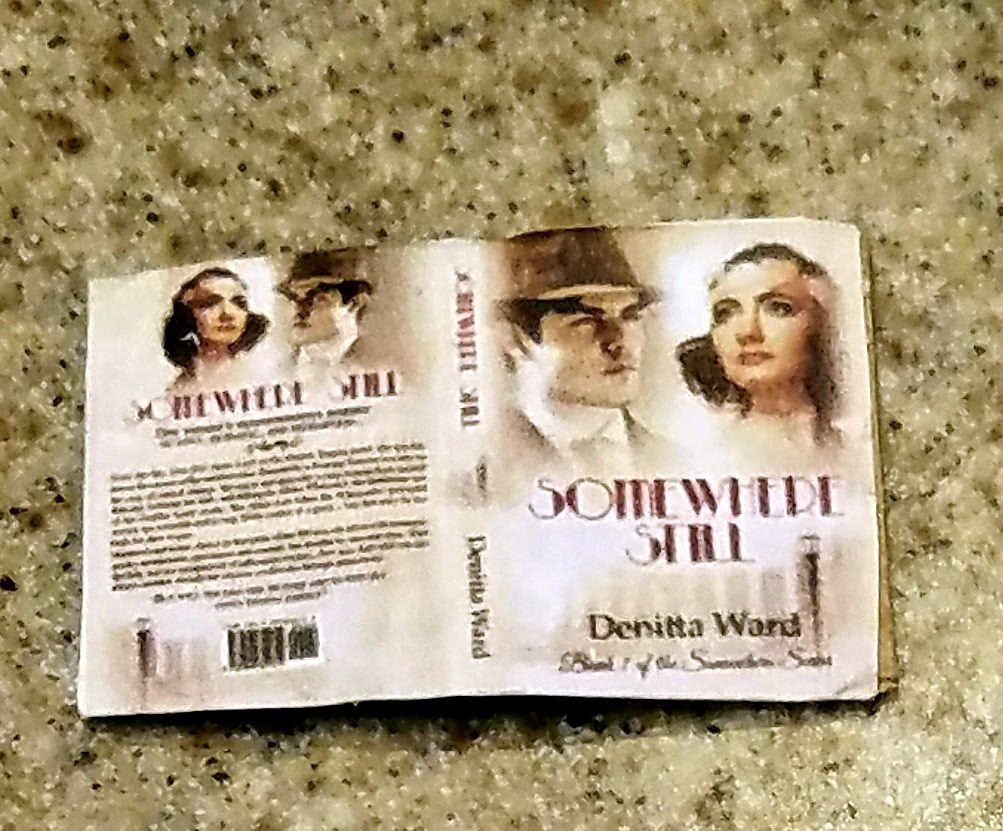
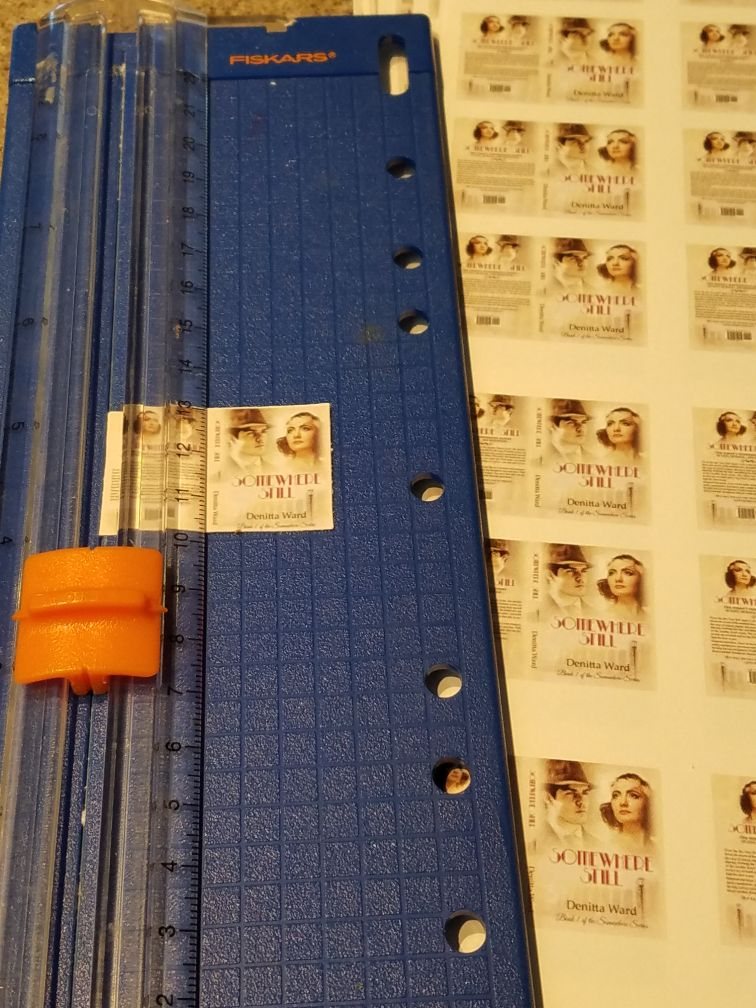
- Copy a picture of your favorite cover and size it to 1″ tall, or however large you want your mini-book to be.
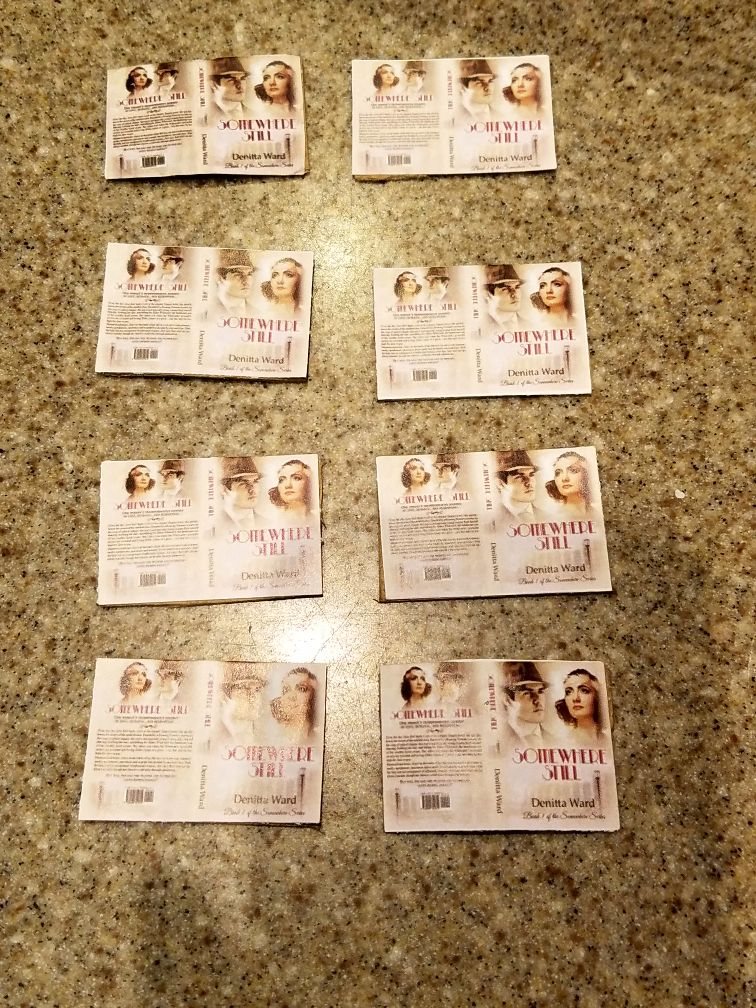
- Cut out your covers. A paper cutter helps if free-hand cuts tend to be crooked.
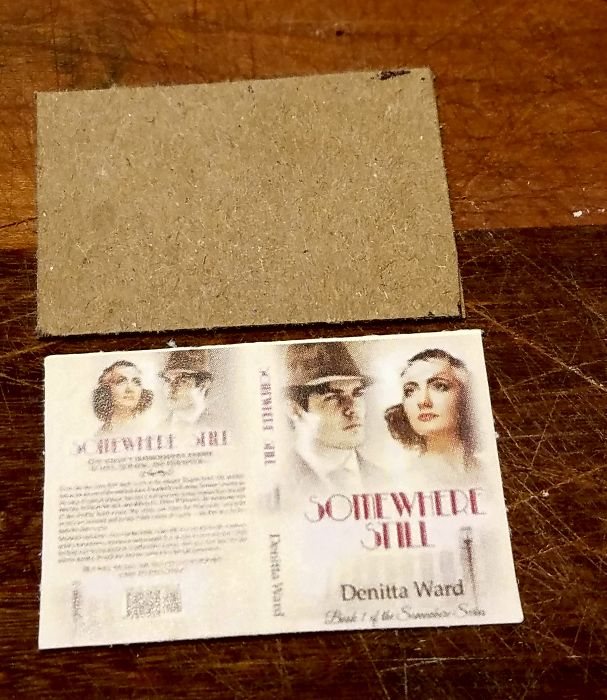
- Cut out thin cardboard the exact same size. Cereal box cardboard is thin enough to bend easily.
- Glue the cover to the cardboard square and let it dry.
Make book blanks
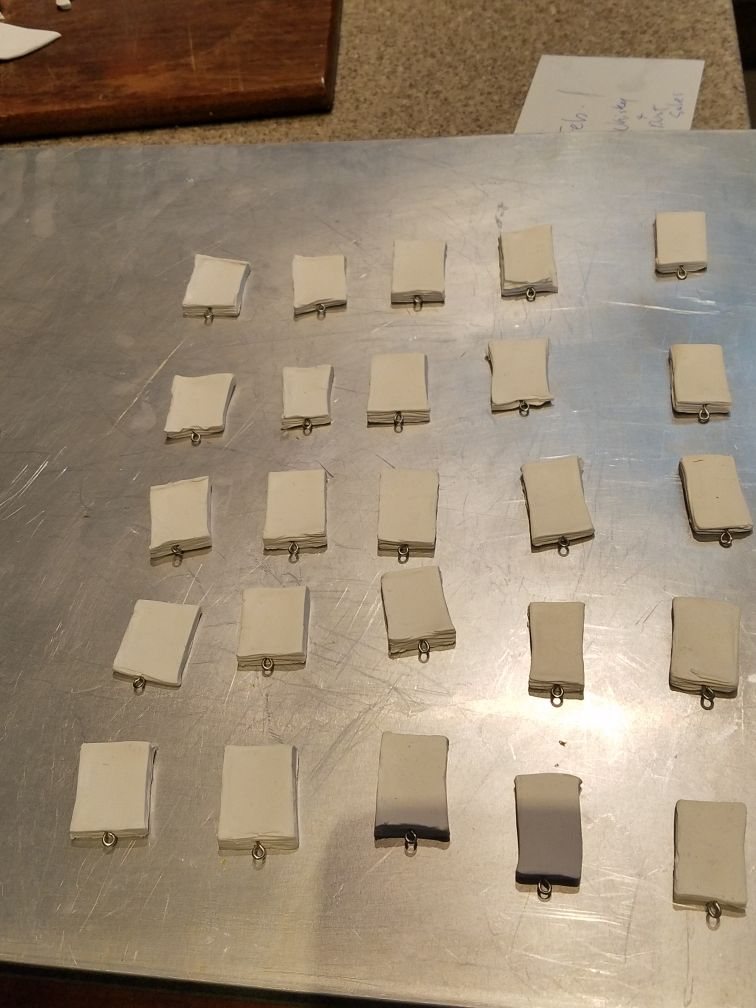
- Roll out white Sculpey clay to just over ¼″ thick, nice and even.
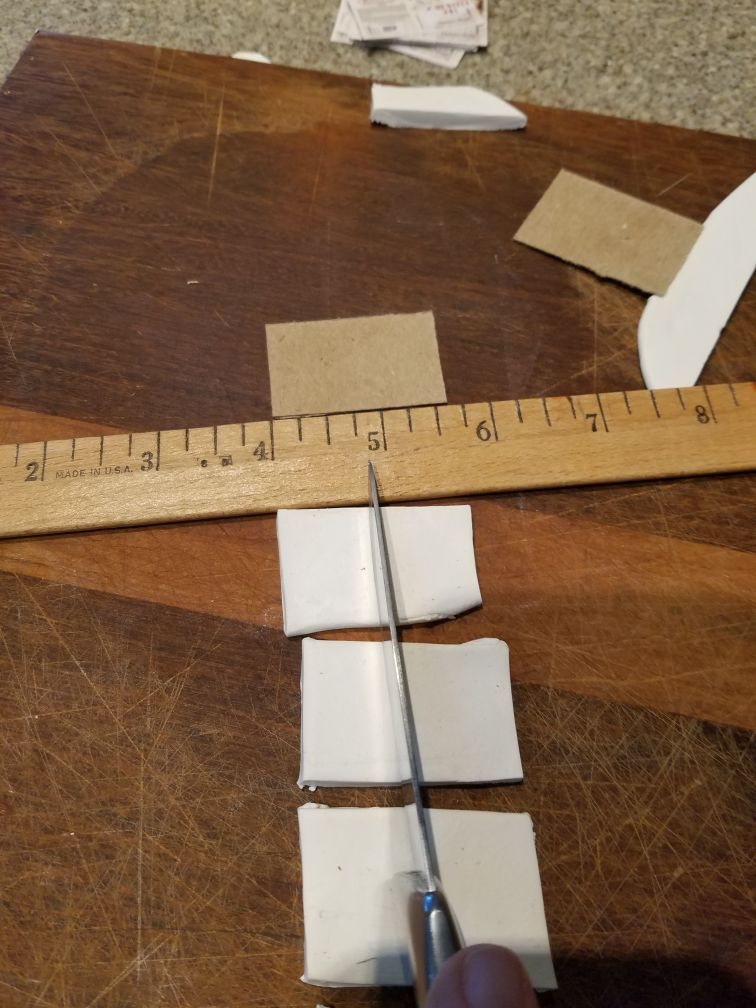
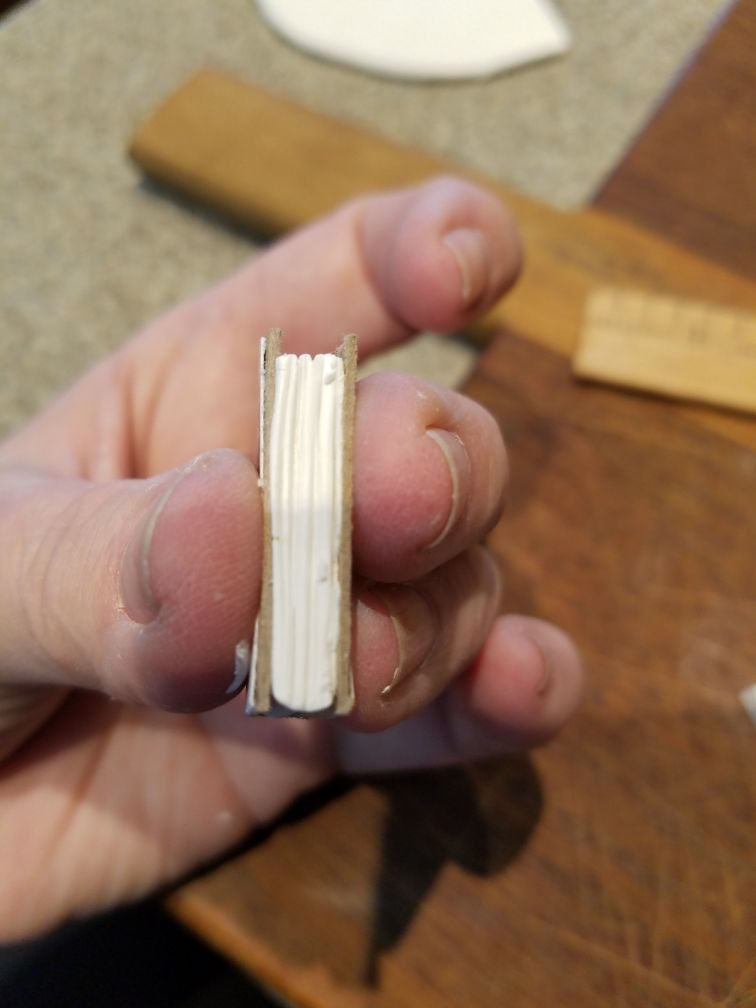
- Using a cardboard piece as your guide, cut out a rectangle that becomes the book blank you will insert inside the cover.
- With the knife, make page hash marks on the top, one side and the bottom of the blank. They look remarkably like pages after it’s baked.
- Insert the screw eye finding (10mm x 3mm hoop) into the top of the book blank.
- Bake 15 minutes at 400 degrees.
Making your book charm
- While the blanks cool, take a ruler and gently bend your covers so there is a spine for the blank to fit inside.
- After the blanks are cool, glue the cover (now reinforced with the cardboard) around the blank. Make sure the screw eye is at the top of the book.
- Paint all parts of the book with Mod Podge and let it dry.
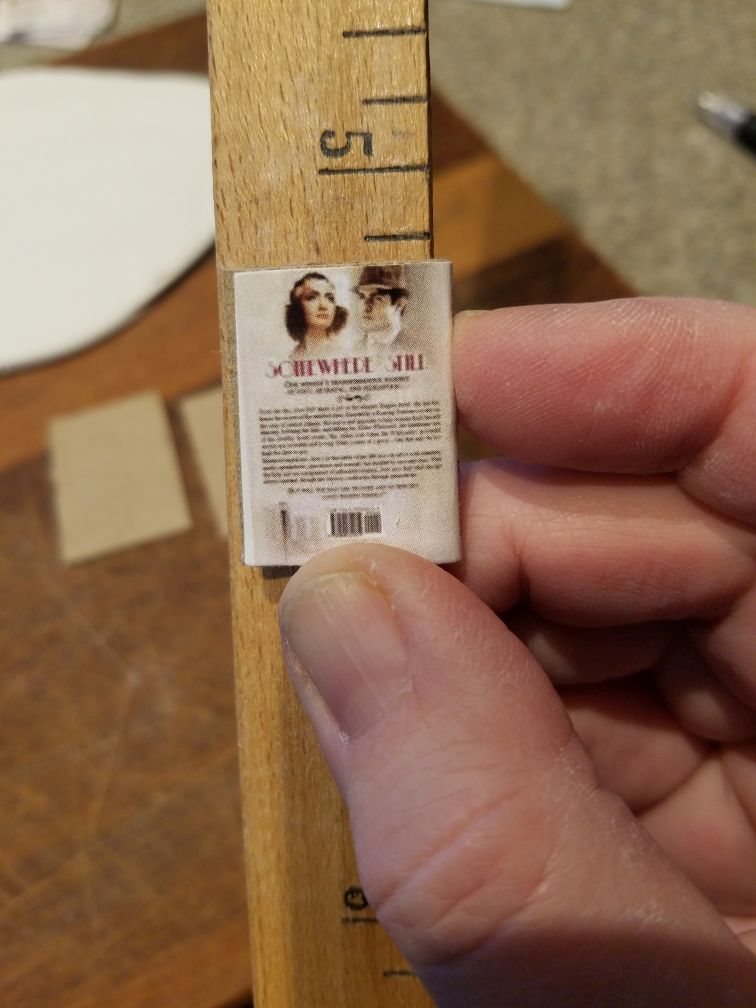
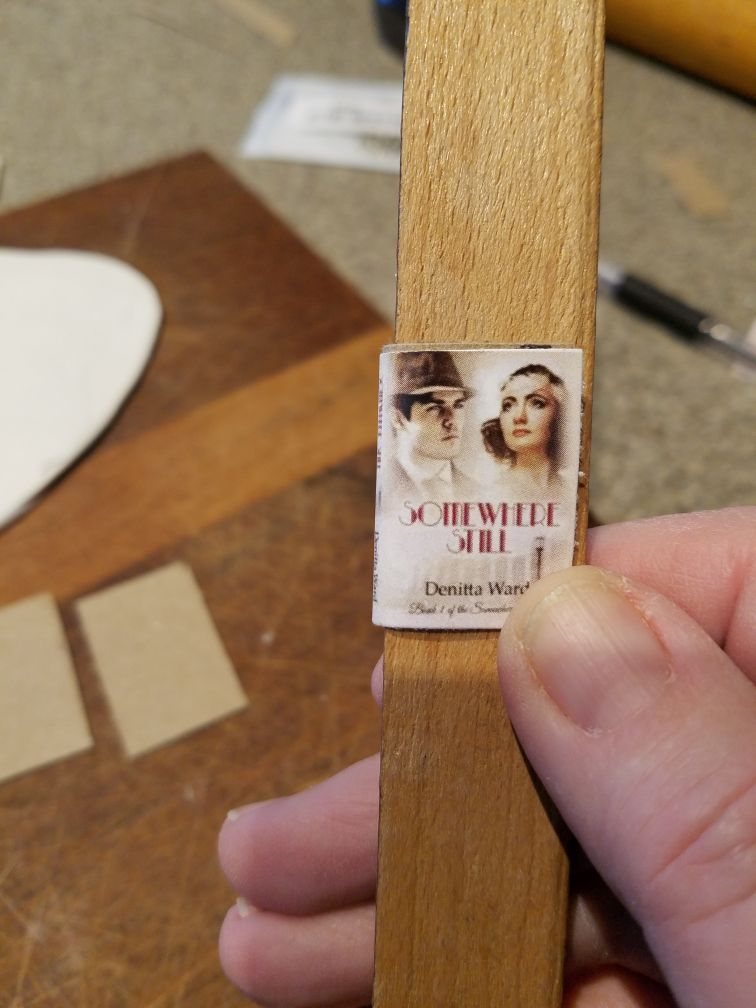
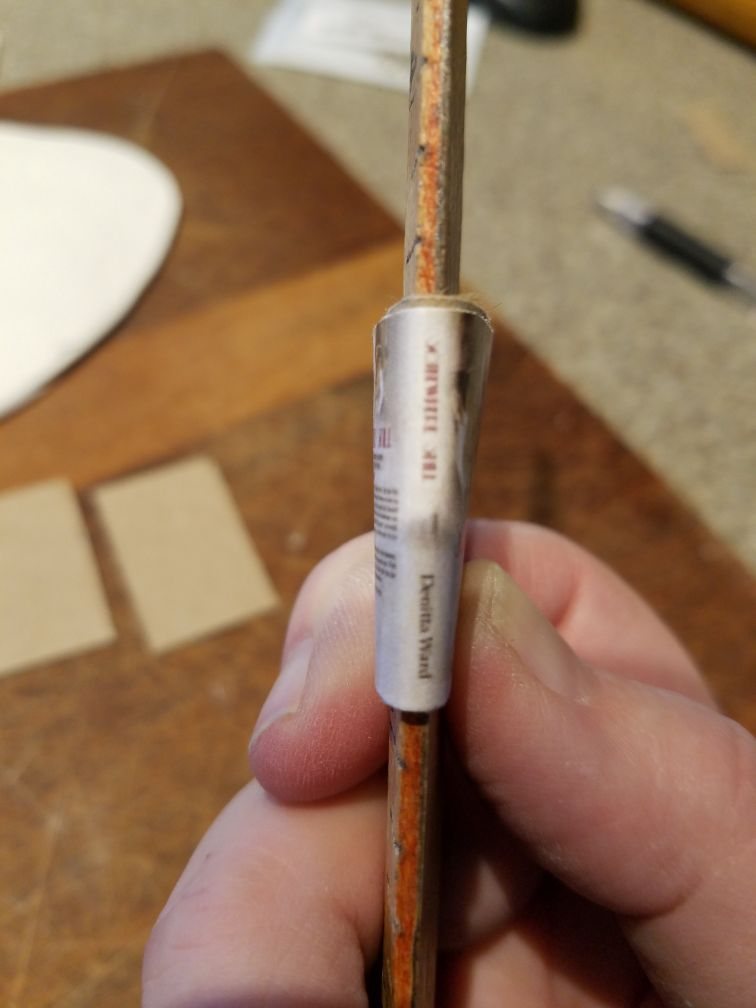
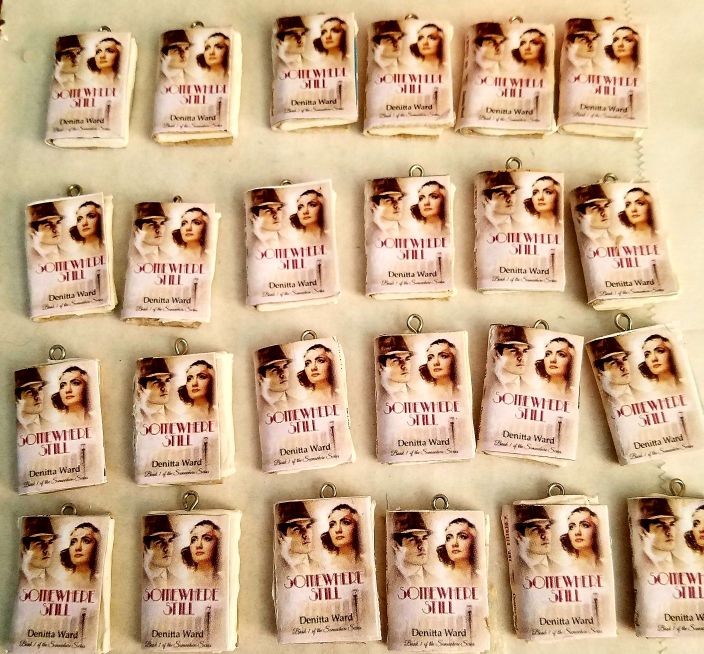

Congratulations. You have mini-book charms.